Chimney Leak Repair in Thunder Bay
A chimney can let water in from several places at once, so the first job is finding where it actually comes from before fixing anything.
- Photo-based estimates
- Masonry, crowns and leaks
- Thunder Bay and nearby areas
Signs of a chimney leak
- Water stains near the chimney Marks appear on the ceiling or wall where the chimney passes through.
- Damp inside the firebox Moisture shows up in the fireplace after rain.
- A musty smell by the fireplace A damp, cellar-like smell that comes and goes with the weather.
- White staining on the brick Salts are left behind as water moves through the masonry.
- Dripping during or after wet weather Water shows up with heavy rain or melting snow and dries back up between.
Where chimney leaks come from
A chimney leak rarely has just one possible cause. Water can get in through failed flashing where the chimney meets the roof, a cracked crown, a missing cap, or open mortar joints, and sometimes the roof beside the chimney turns out to be the real path. Freeze-thaw winters can widen any of them.
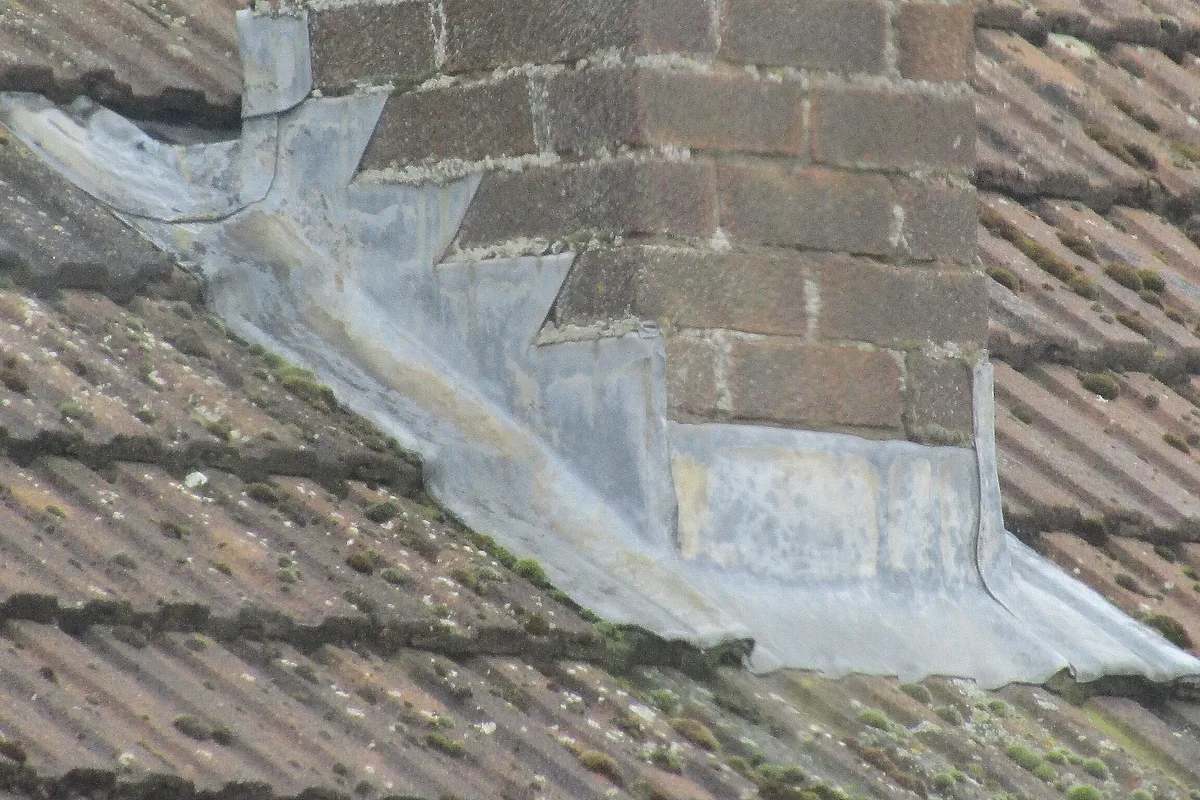
- Flashing at the roofline A failed seal where the chimney meets the roof is one of the most common ways in.
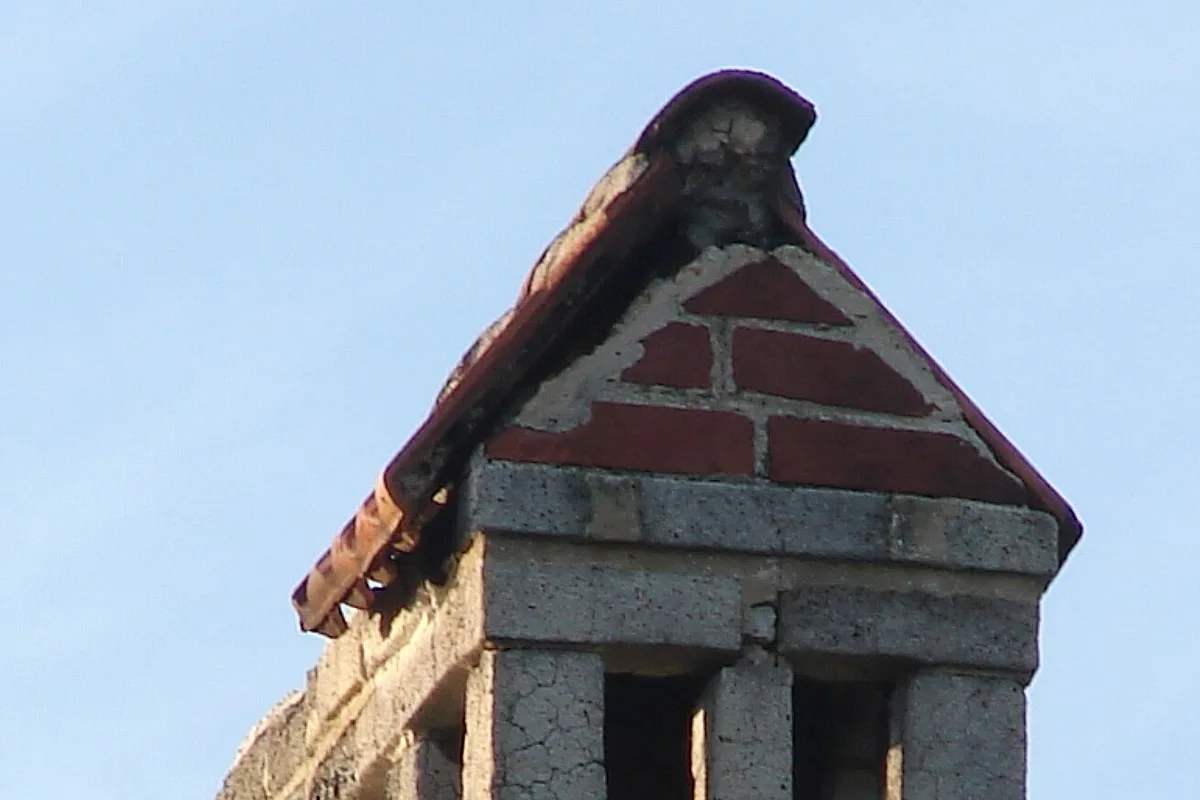
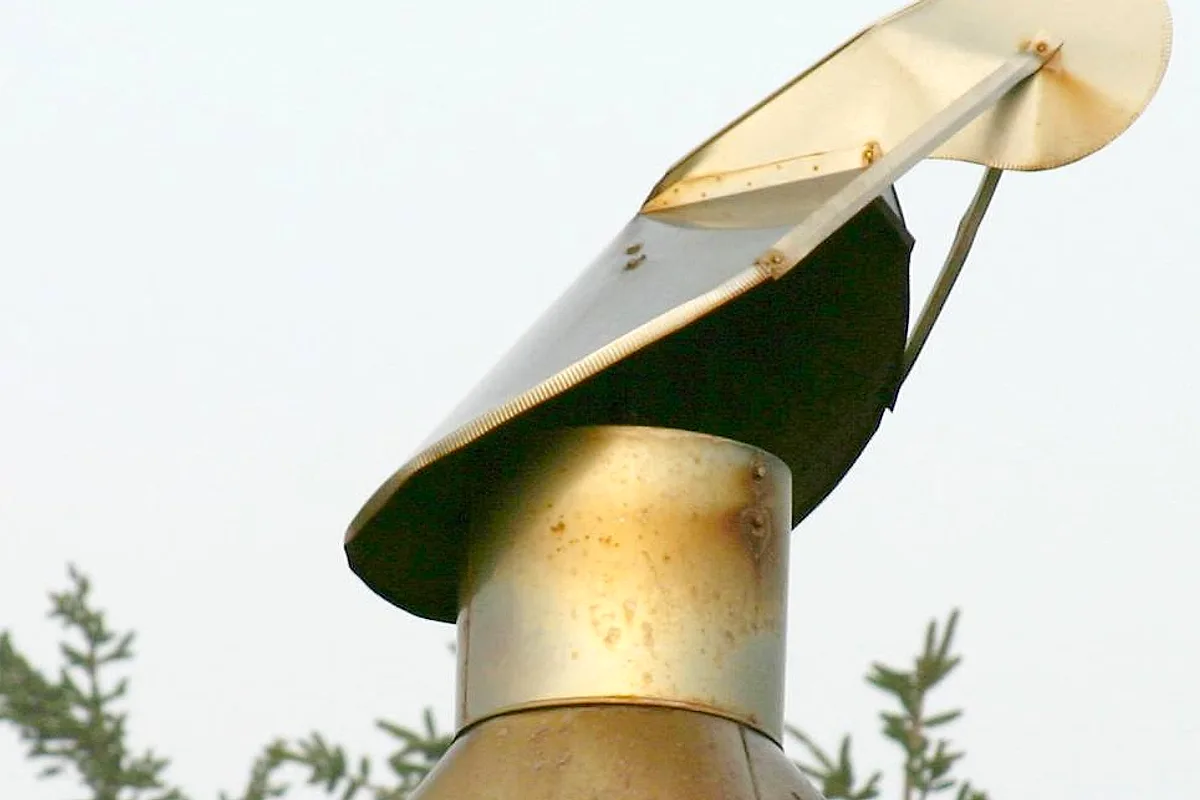
- The crown or cap A cracked crown or missing cap lets water run straight down the chimney stack.
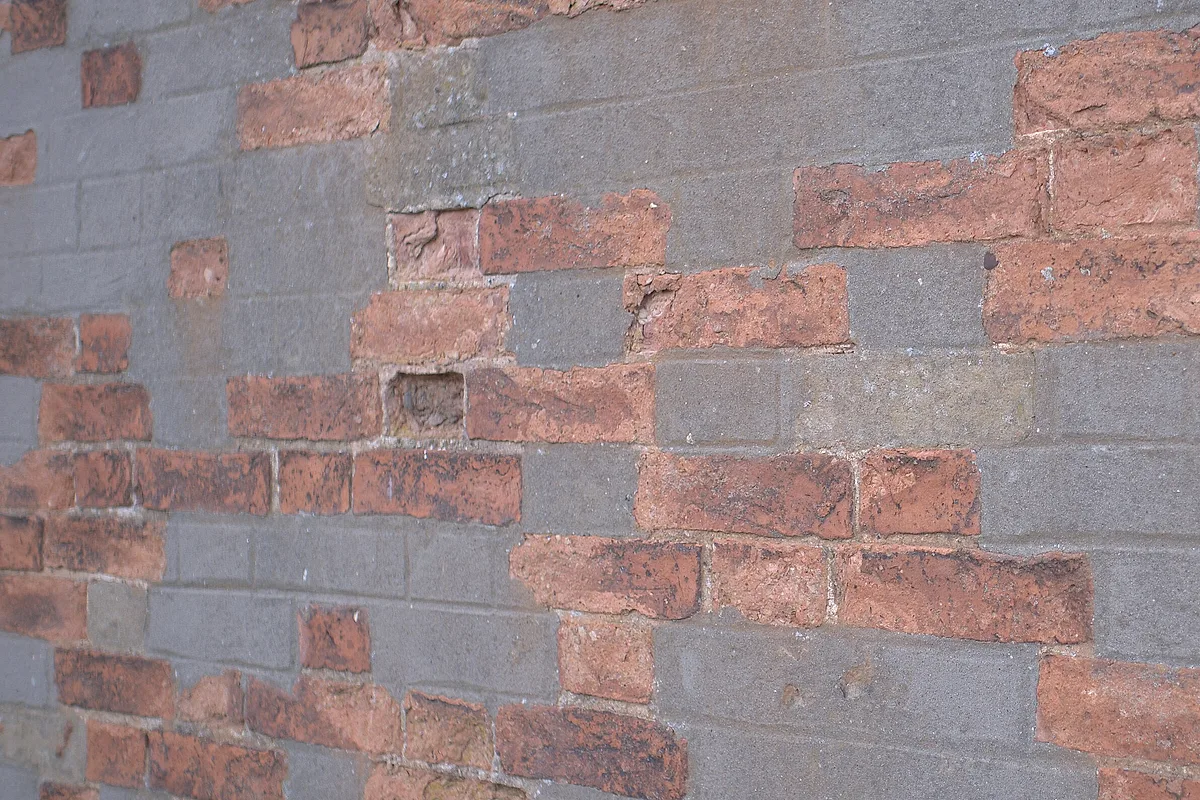
- Open joints and worn brick Failed mortar and spalled faces soak water into the masonry.
What leak repair includes
- Inspection of the chimney, flashing and roofline
- Checking the crown, cap and joints for open paths
- Water testing the suspect area where access allows
- Repair of the source once it is confirmed
- A look over the surrounding masonry for further entry points
- Site protection and cleanup
How a leak is handled
Flashing repair
When the leak is at the roofline, the flashing is resealed or replaced.
Crown or cap work
When water is coming from the top, the crown is sealed or a cap is fitted.
Masonry sealing and repointing
When it is the joints or the brick faces, those are repointed or sealed where water is getting through.
How an estimate works
-
01
Send photos
A few shots from the ground are enough to start.
-
02
Get a range
A realistic price range and repair options.
-
03
On-site check
Scope is confirmed at the property.
-
04
Work is scheduled
Timing is agreed around the weather window.
What affects the cost
Until the source is found, a leak is hard to price. A length of flashing and a full crown recast are very different jobs. These are the things that move it from one end of a range to the other.
- Height and roof access Taller chimney stacks and steep roofs take more setup and staging.
- Where the water gets in Flashing, crown, joints or brick each means different work.
- How many entry points More than one path into the chimney adds to the job.
- How far the water has spread Damage hidden inside the stack can add work beyond the entry point.
- Season and weather window Sealants and mortar both have a temperature range, so the weather window shapes when the work can be done.
Every estimate stays a range until the leak is traced up close.
Leak repair questions
Can't find yours? Send it with your photos.
Can you tell where the leak is from photos?
Photos help point to the likely area, but a leak often needs a closer look on the roof to confirm the real source before any fix.
Why does my chimney only leak sometimes?
Some leaks show only with wind-driven rain or melting snow, which is why the timing and direction of the weather matter when tracing them.
Is it the chimney or the roof?
The two meet at the flashing, so a chimney leak and a roof leak can look the same indoors. Tracing it is what separates them.
Will one repair stop it for good?
That depends on whether the source found was the only way in. If water has more than one path, it can take more than one fix, and the next heavy rain is what shows it.
Get ahead of the next freeze-thaw cycle
Send a few photos of your chimney — get a clear starting point: what is urgent, what can wait, and what it is likely to cost.